
Installation & Support
mRCH Access Control & Monitor — 24V
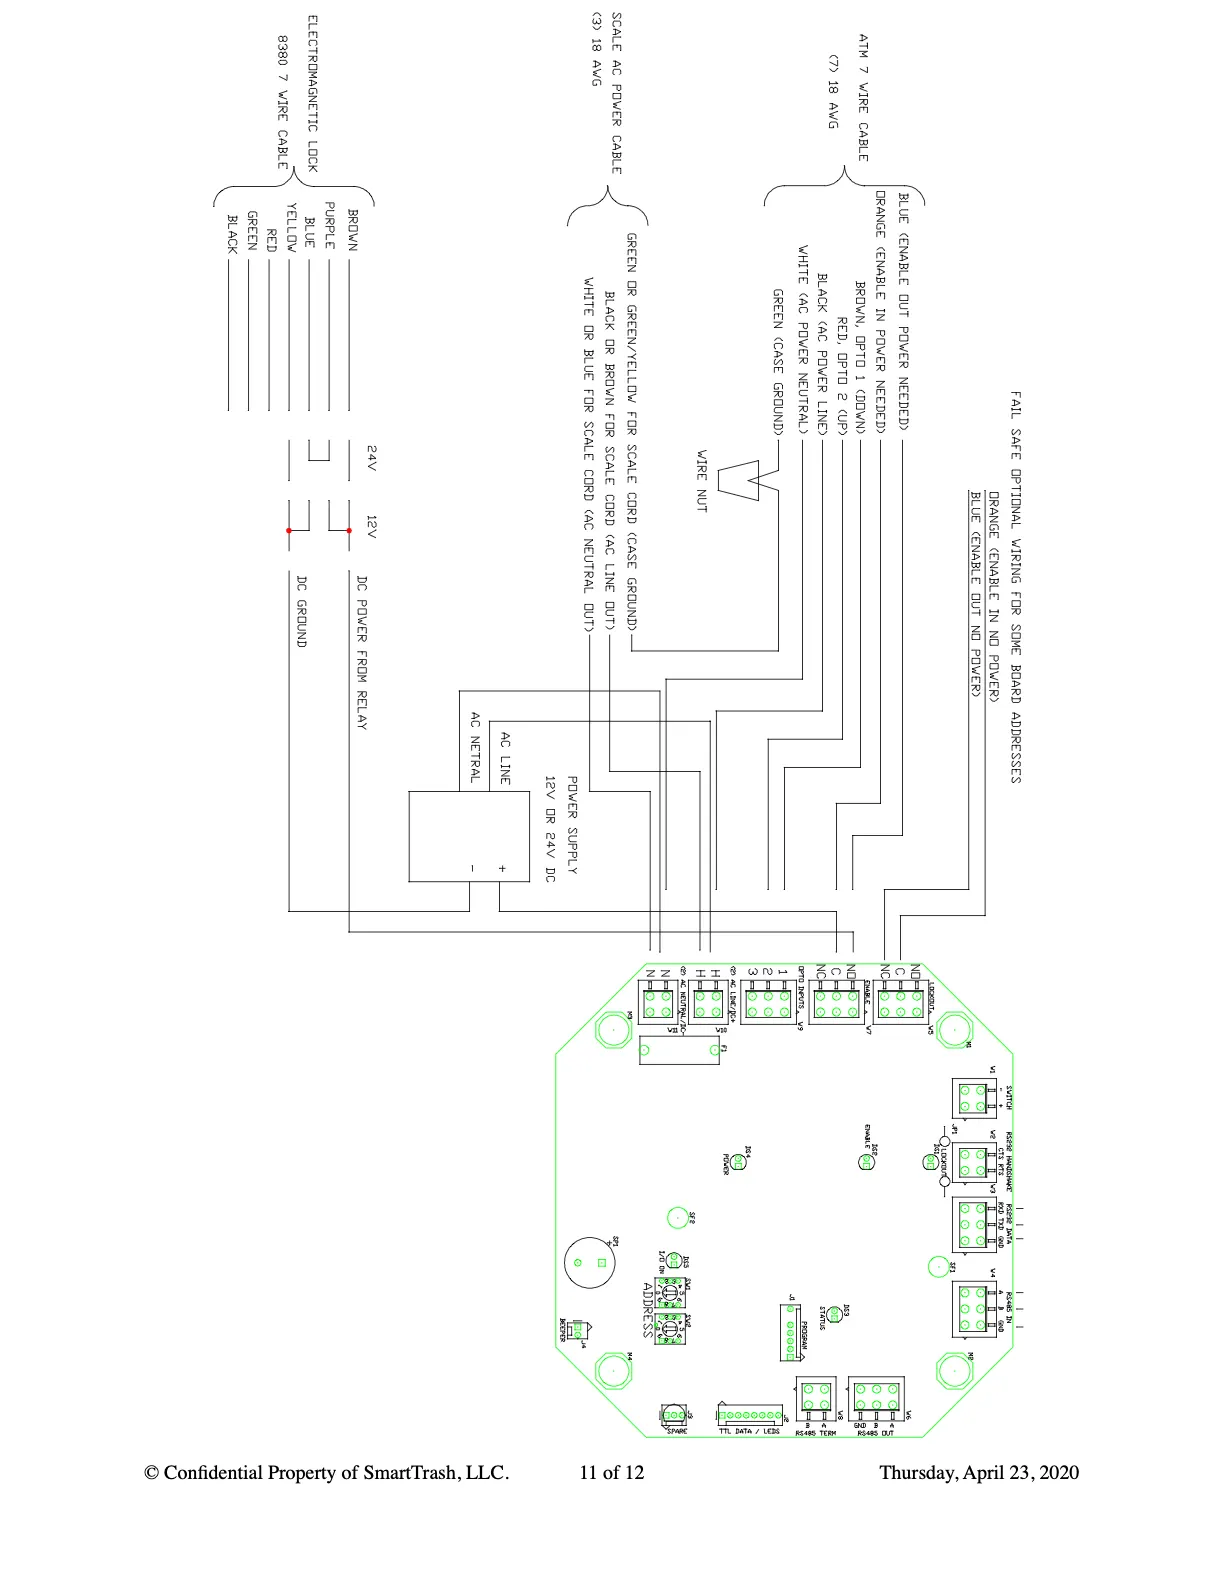
Install the 24VDC mRCH Compactor Monitor with RFID access control. Use 24VDC wiring for the monitor, then the same relay and lock steps as the access-control package.
24V DC + Access Control
Printable PDF covers access-control extras; use the 24VDC wiring photos and steps on this page for power connections. A dedicated combined 24V access-control PDF can replace this download when available.
What you are installing
This package pairs the 24VDC mRCH Compactor Monitor with access-control relay options and an electromagnetic lock.
Wire the monitor for 24VDC first (including DC negative reference), then install relay and lock hardware.
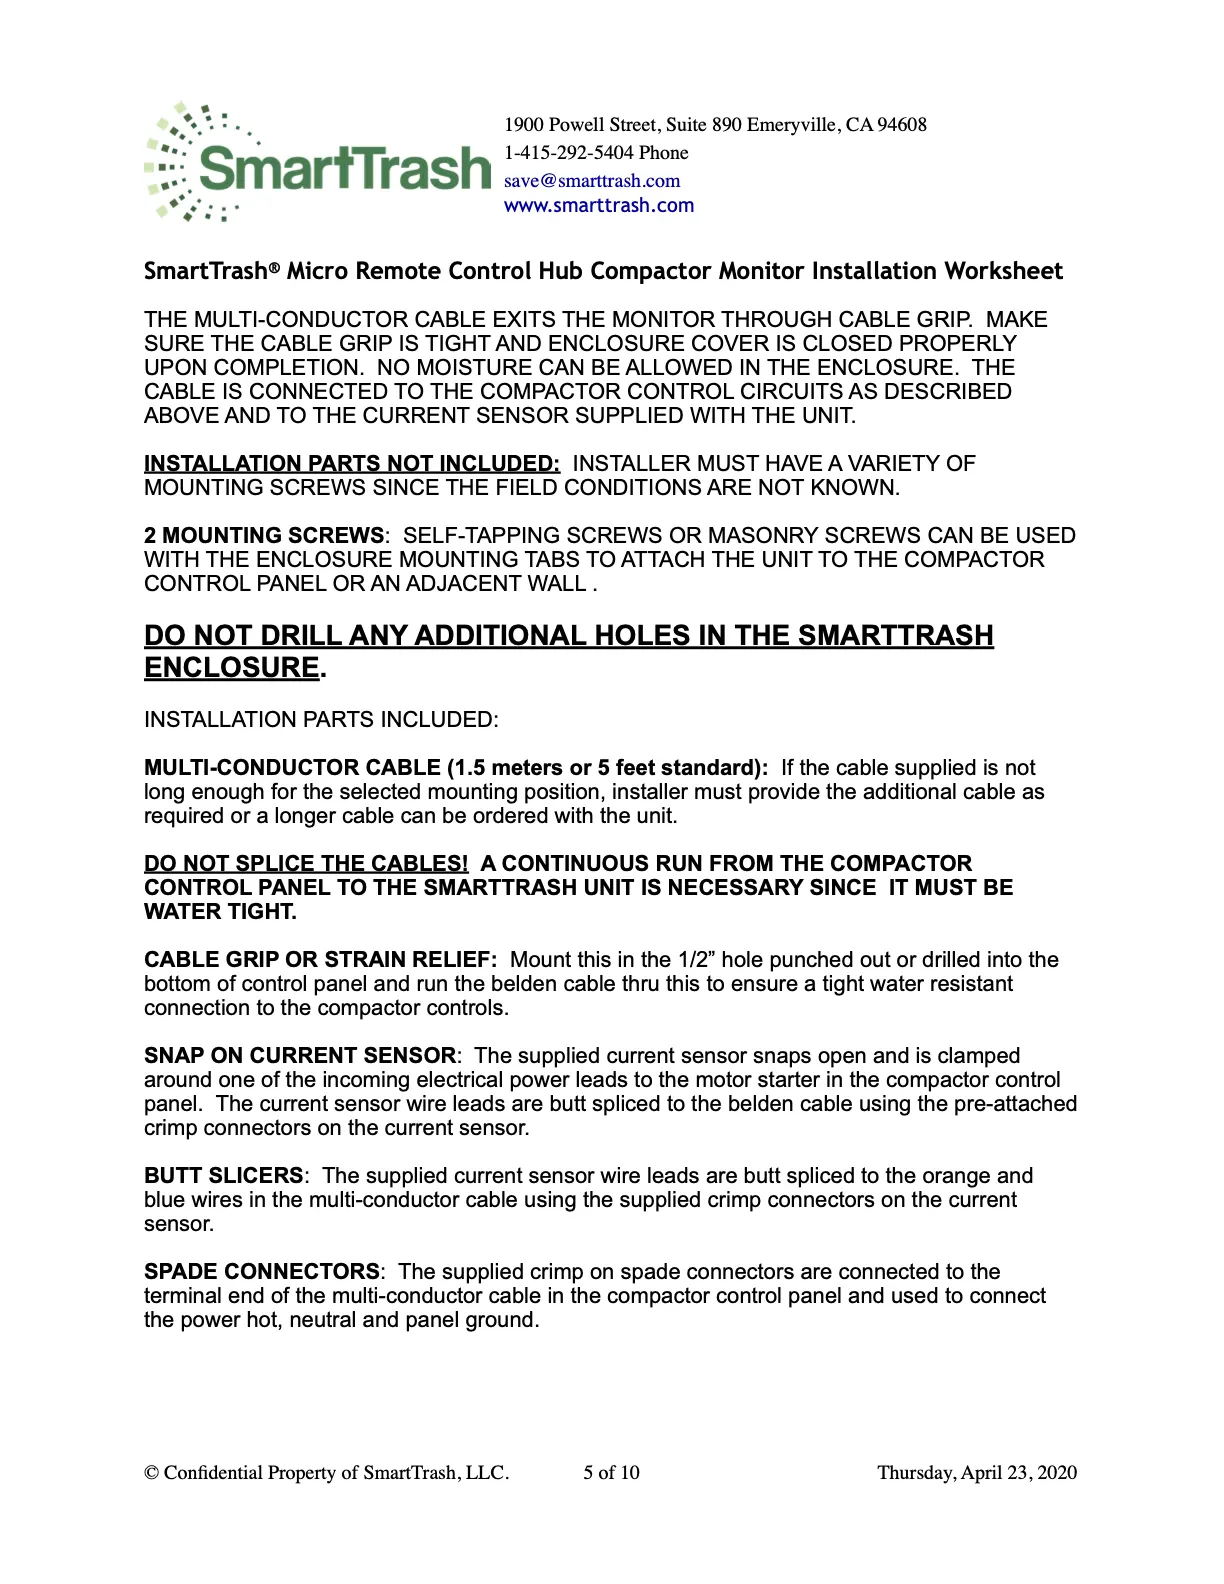
24VDC monitor wiring
DC Negative must share the AC Neutral connector reference. Contact SmartTrash if the panel wiring differs.
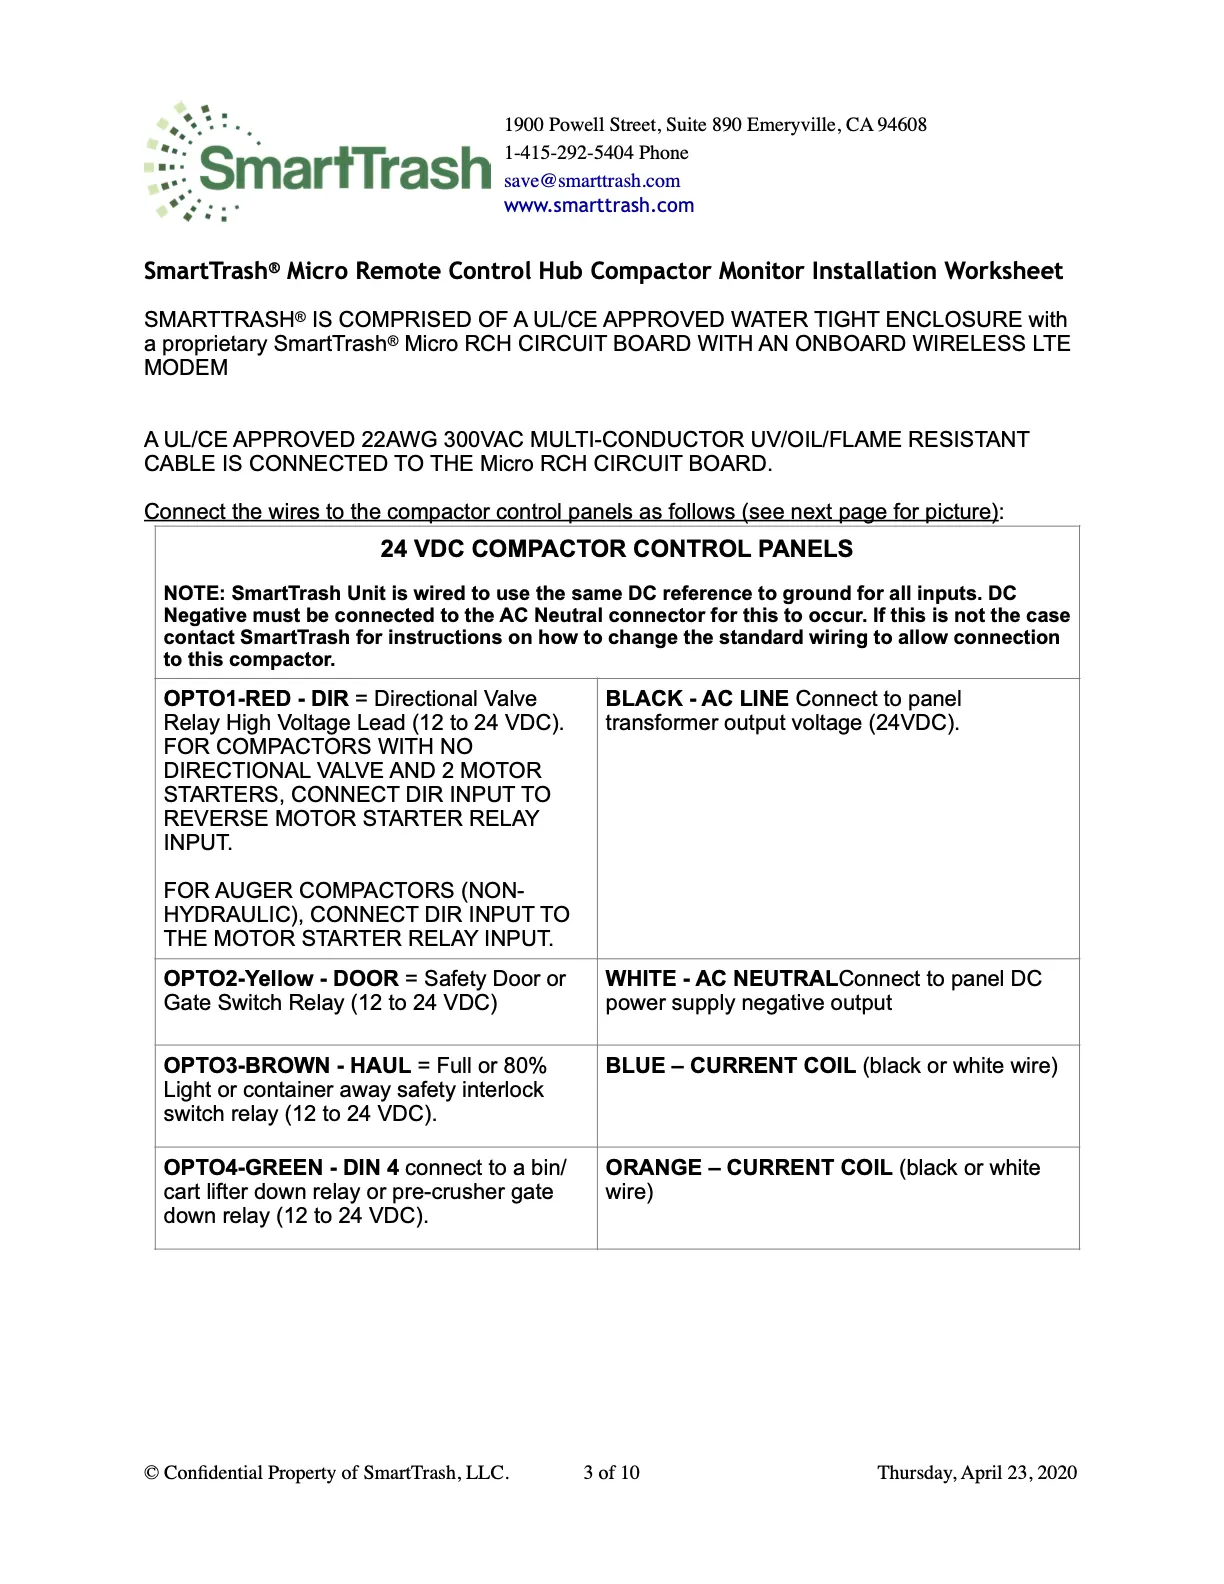
- RED DIR · BLACK → 24VDC supply · YELLOW DOOR · WHITE → DC negative · BROWN HAUL · BLUE/ORANGE current coil · GREEN DIN 4 — see Monitor 24V guide for full detail.
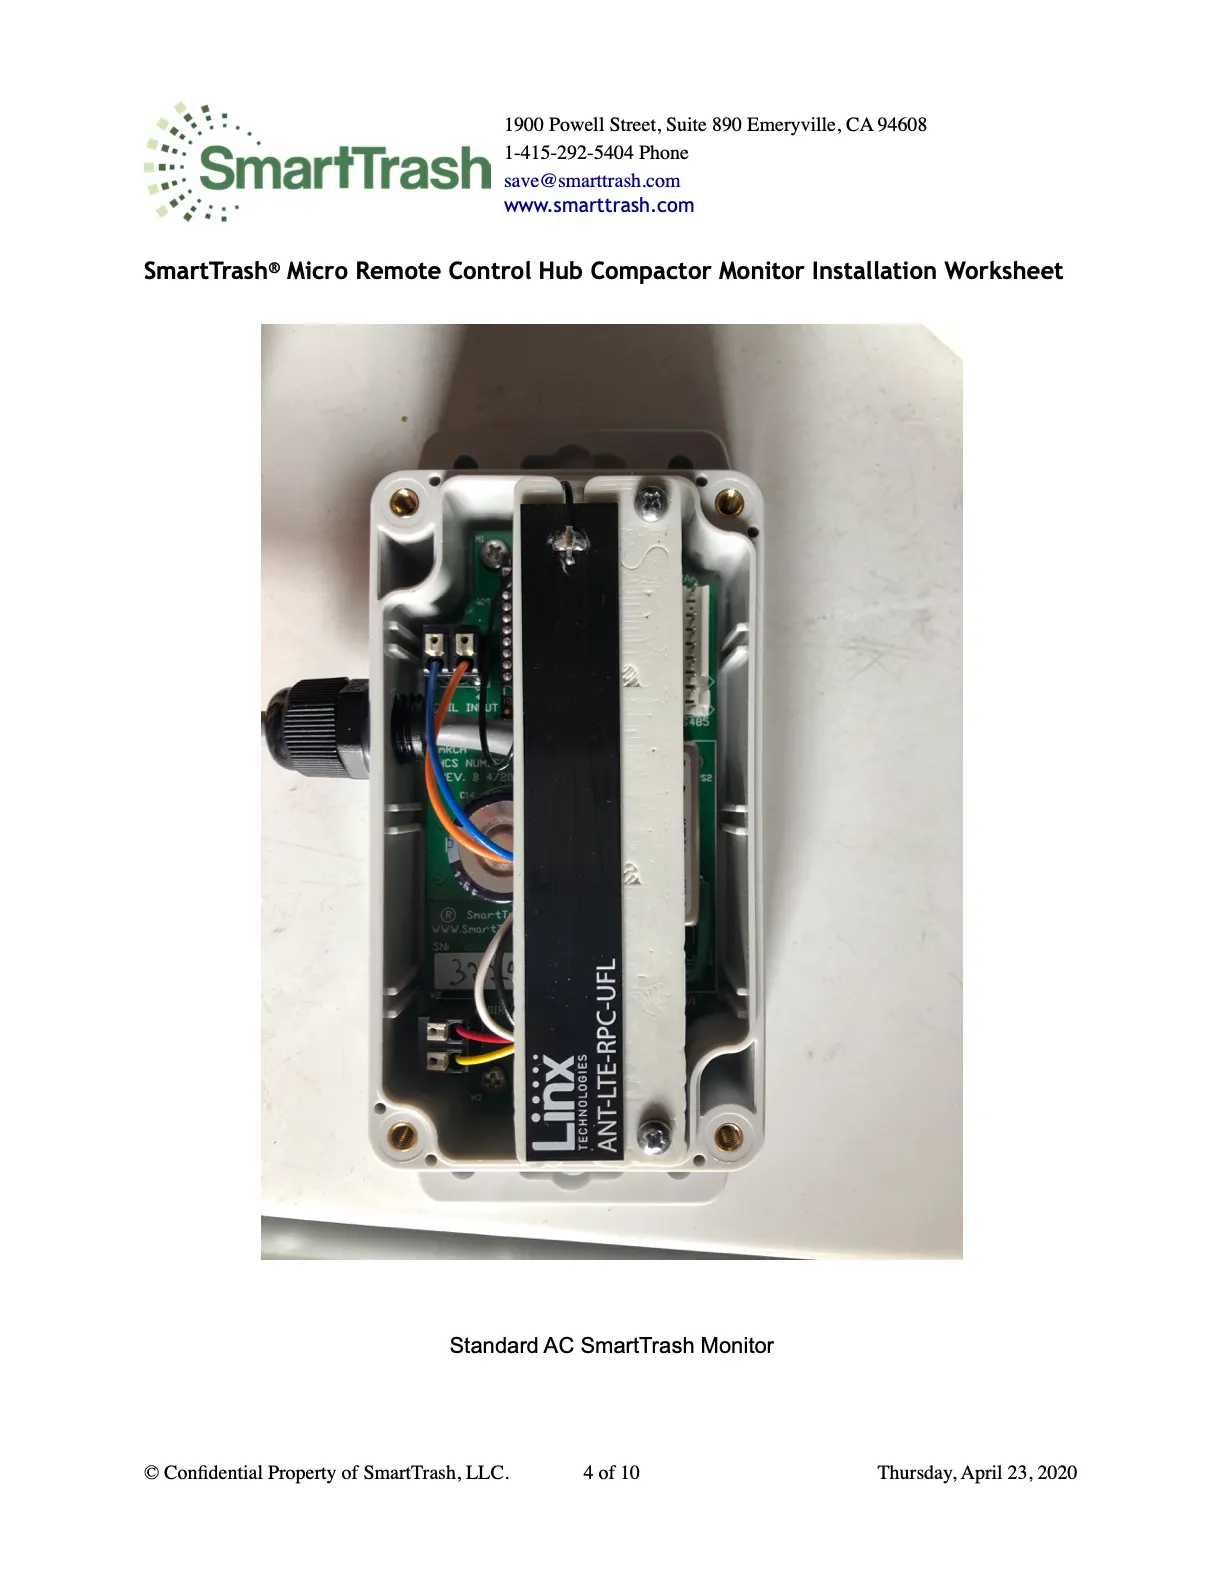
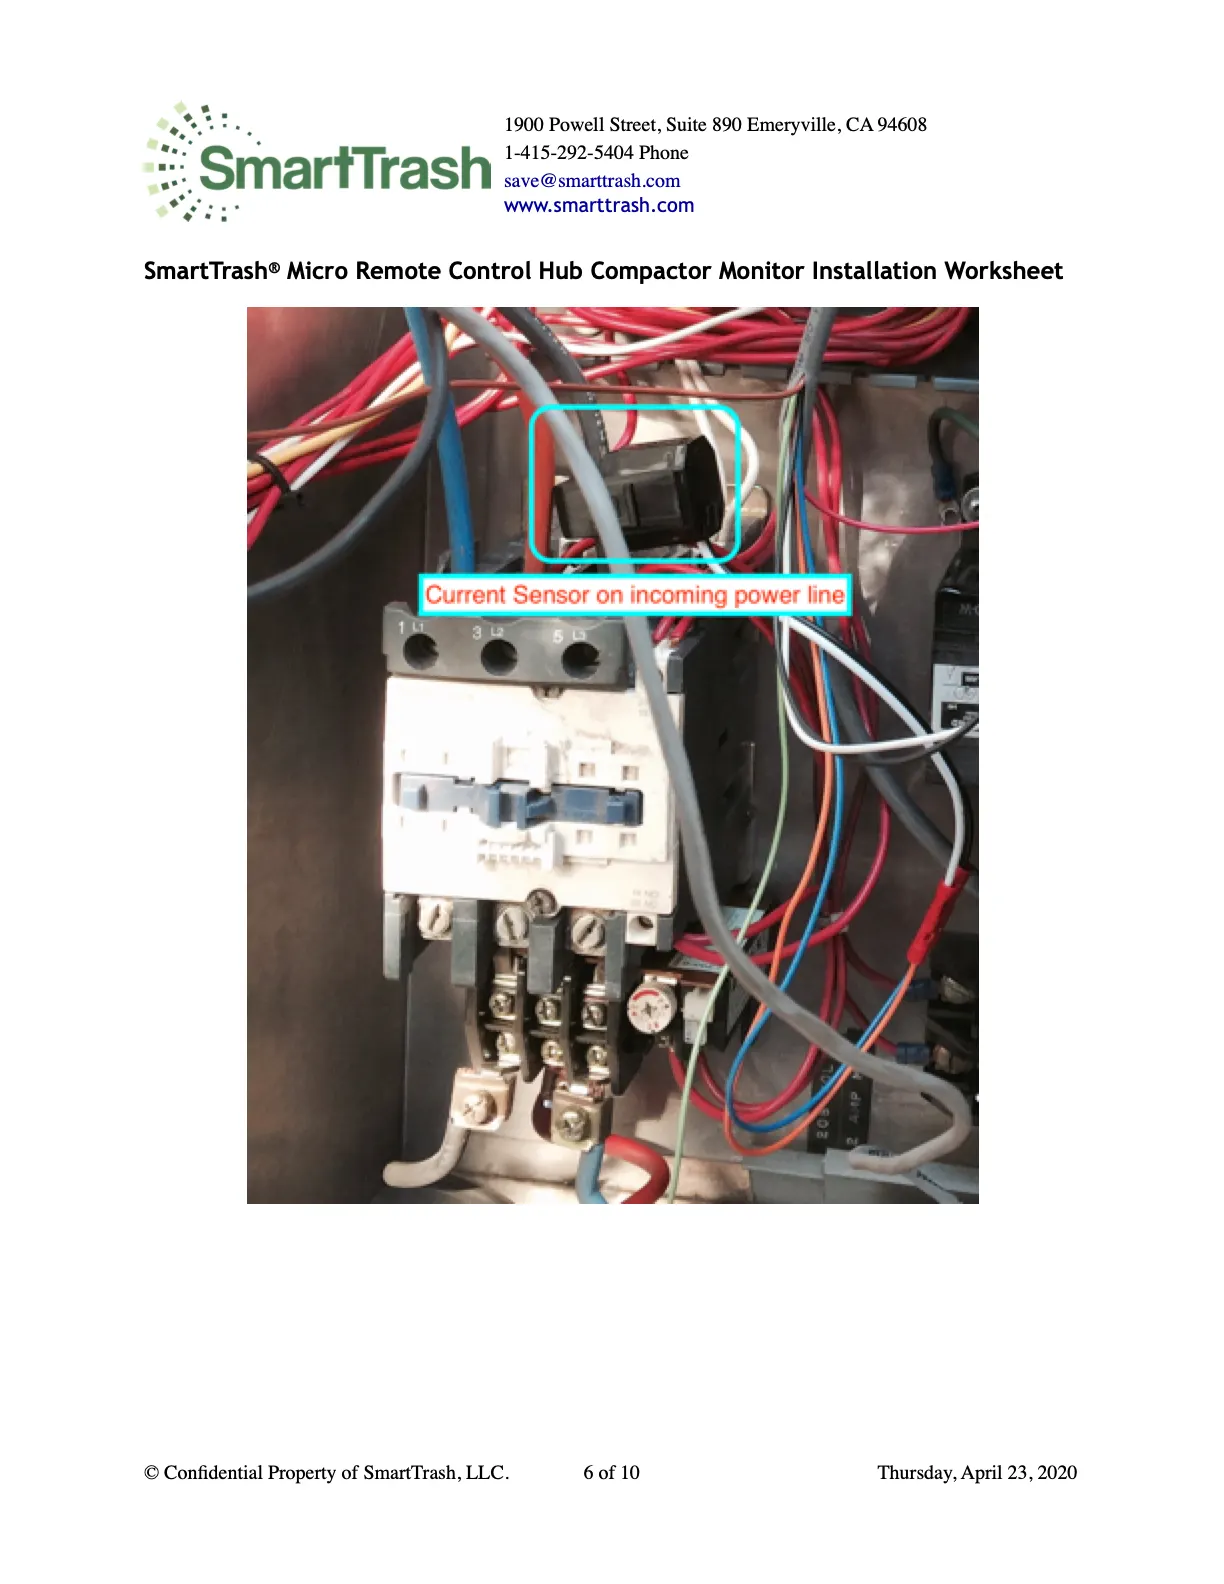
Parts, haul sensor, and status
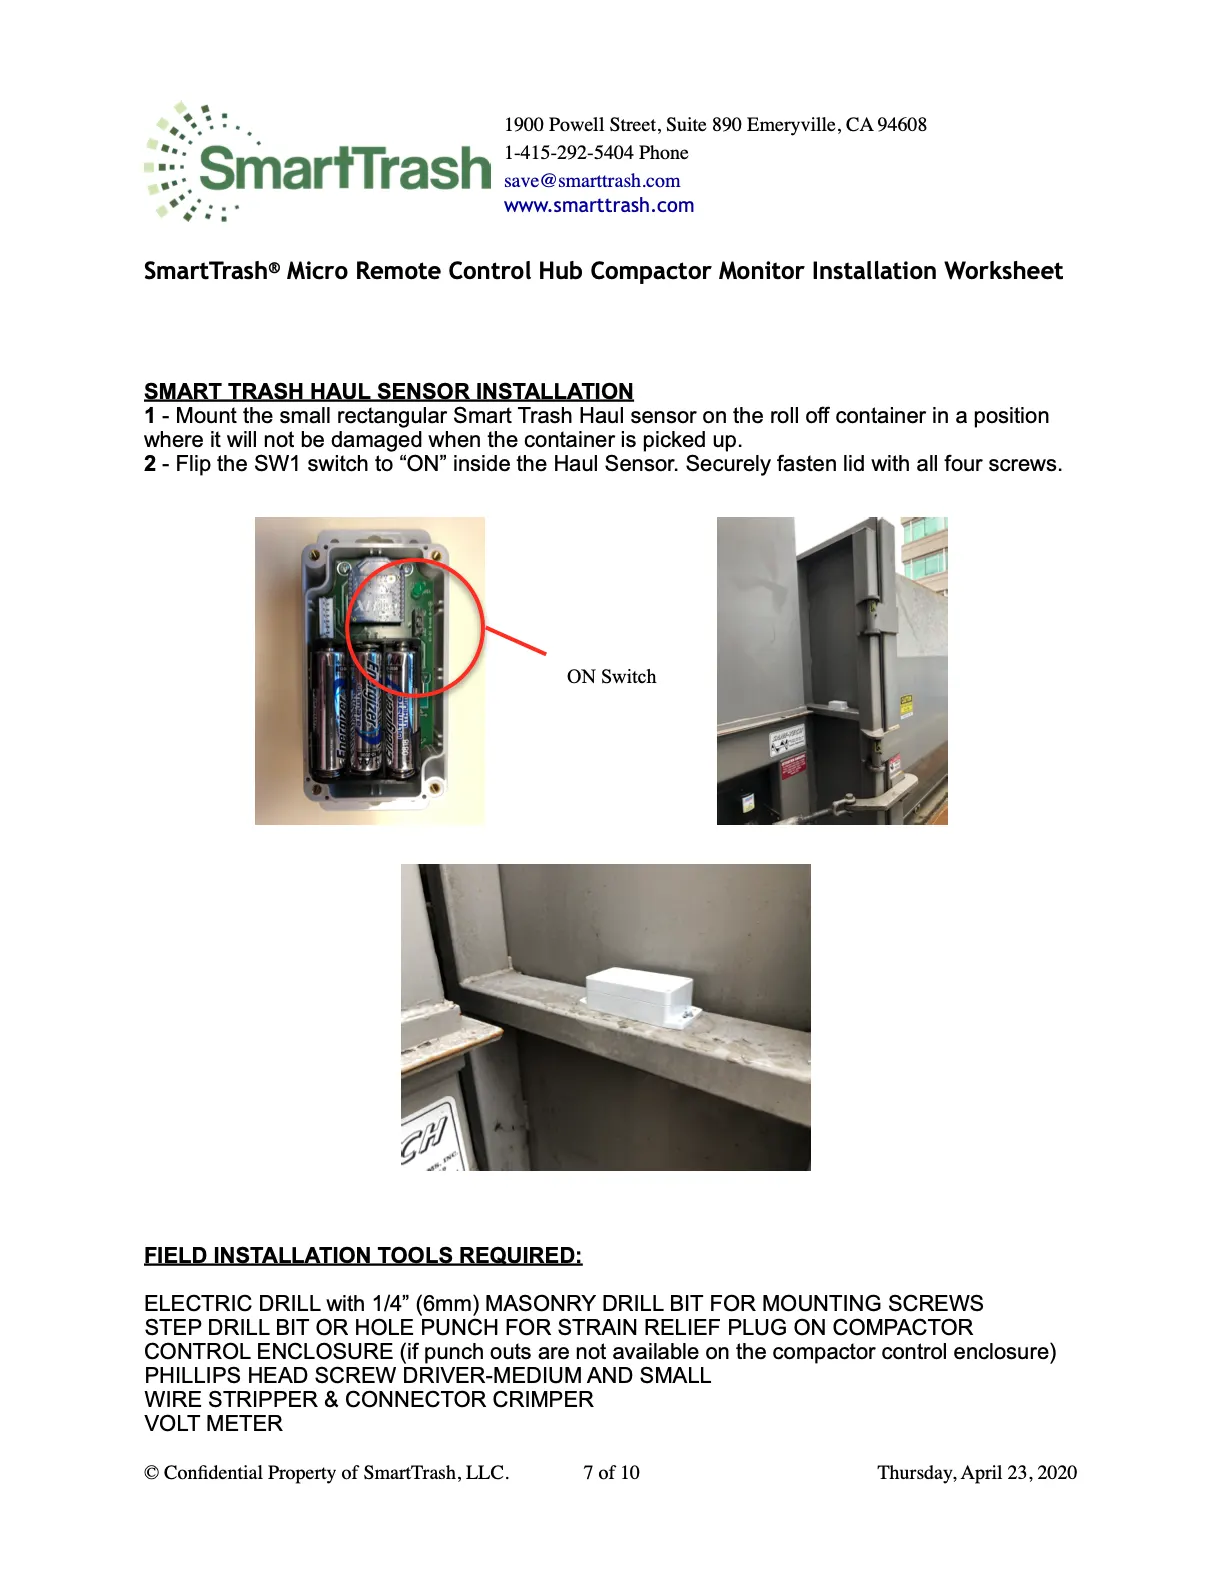
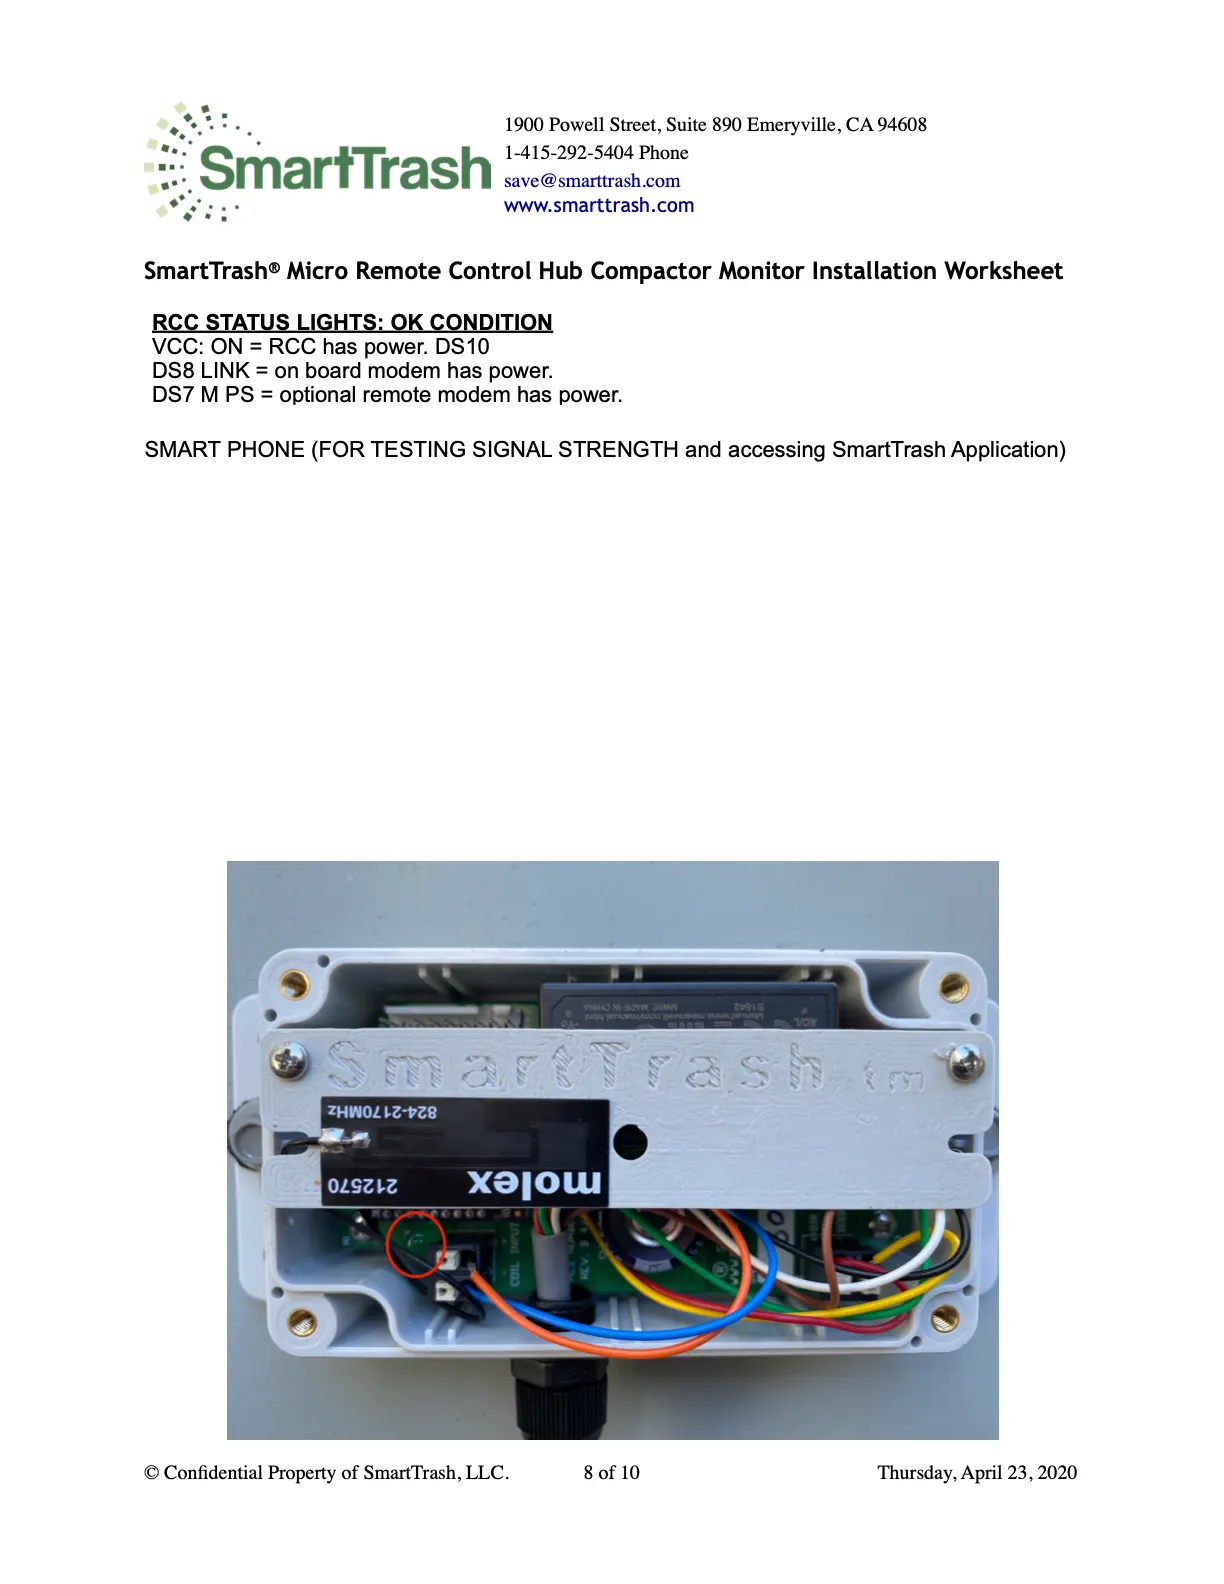
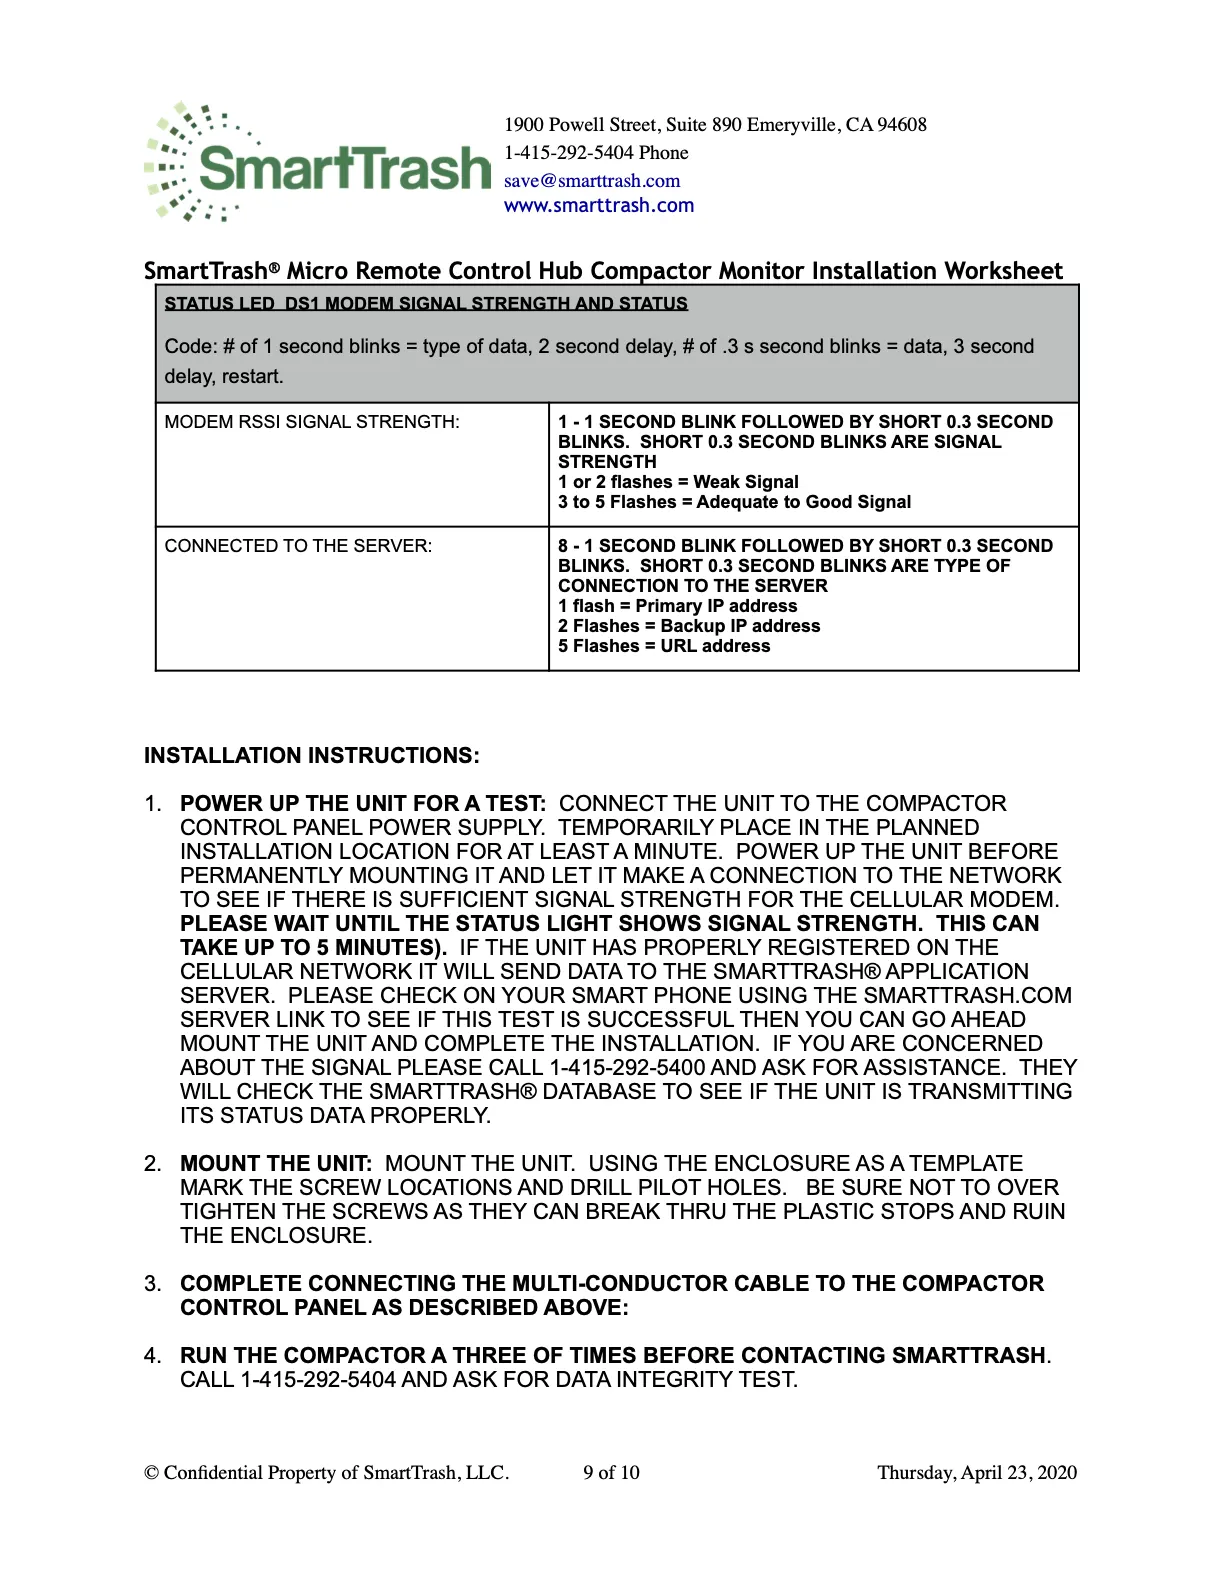
Access control — relay & lock
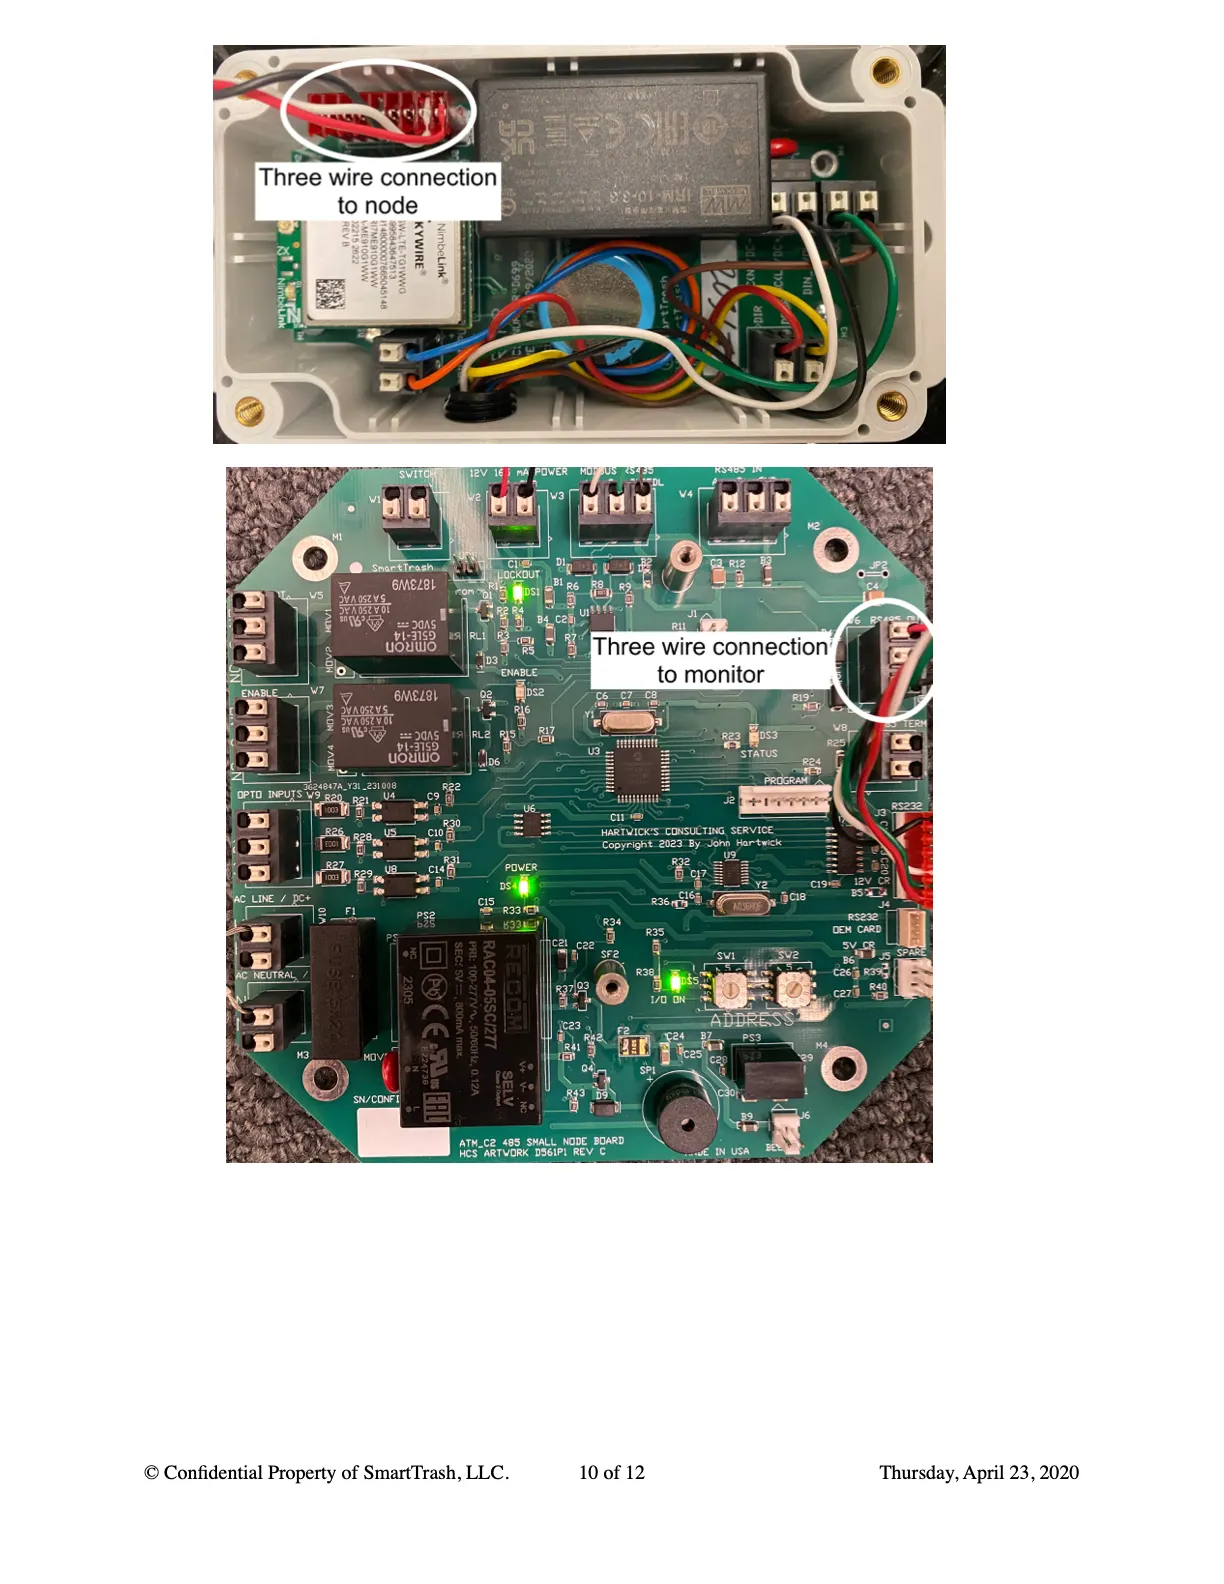
- Lockout relay: when constant power is not required.
- Enable relay: when constant power is required.
- Align both halves of the electromagnetic lock so they connect when powered.

Troubleshooting
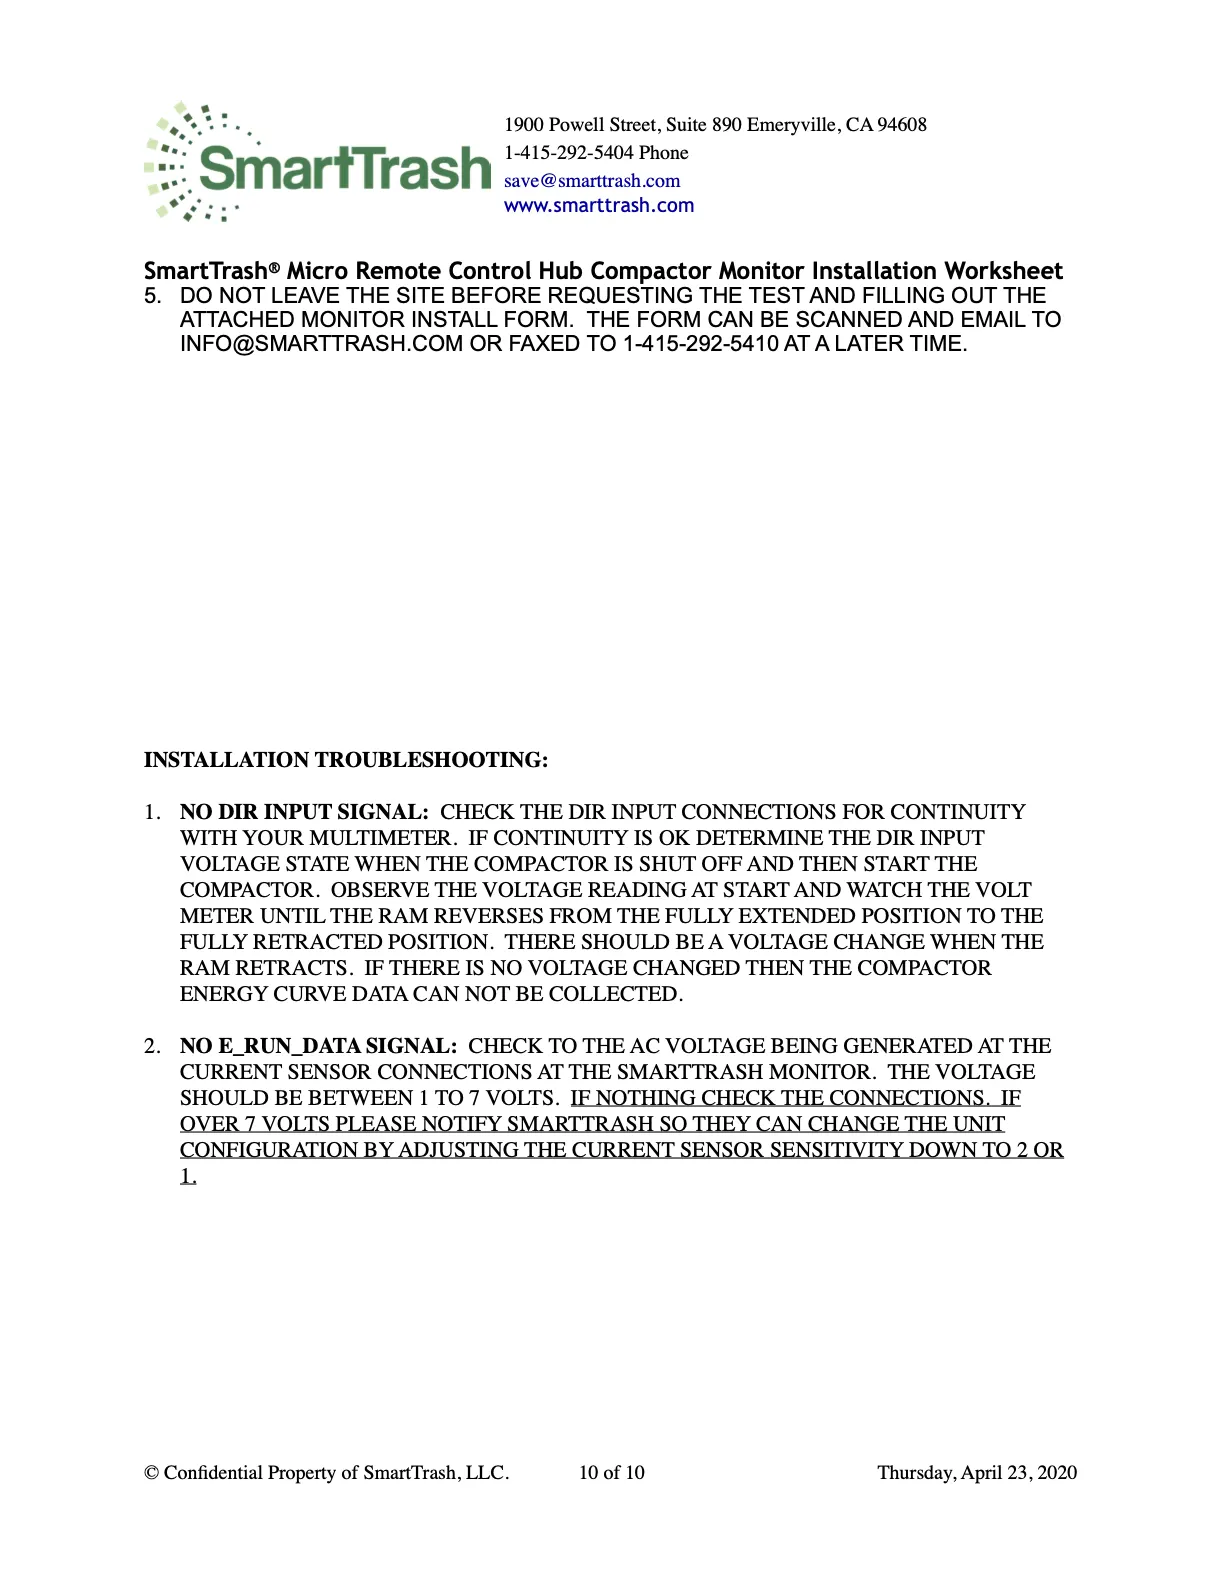
- No DIR input or E_RUN_DATA — same checks as the 24V monitor guide.
Installation worksheet
Do not leave the site until you request a data integrity test (1-415-292-5404) and submit this form.